By Pete Volk — 25-year veteran of the dental industry (Director of Strategic Accounts, DCI Edge), writing here strictly as a patient — Last updated August 20, 2026
I’ve walked through more operatories than most patients ever will, but going through an implant myself as a patient was a different kind of education — the timeline is longer than people expect, and knowing that going in made the whole thing far less stressful than if I’d assumed it would be over in an afternoon.

Step 1: The Consultation and Imaging
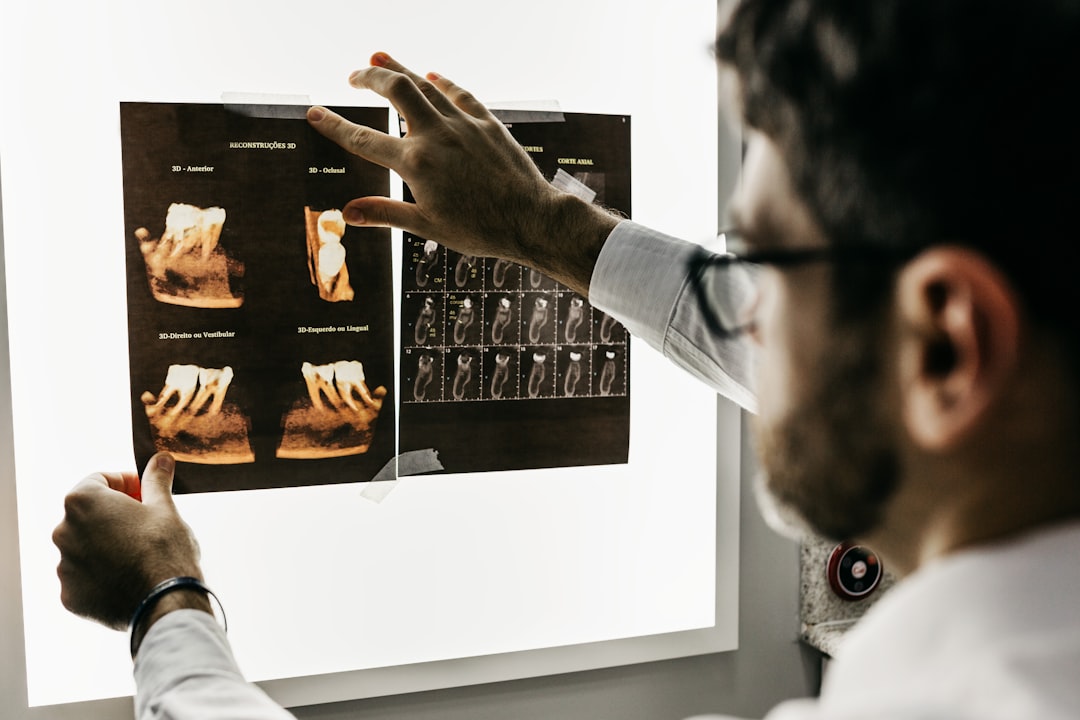
This is where a 3D scan (often a CBCT scan, which gives a full three-dimensional view rather than a flat 2D x-ray) maps out your jawbone — its density, height, and proximity to nerves and sinuses. This step decides almost everything else: whether you’re a straightforward candidate, whether you’ll need a bone graft first, and how the implant will actually be placed. I asked to see my own scan and have it explained, and it made the rest of the process feel far less abstract.
Step 2: Bone Grafting, If Needed
If the bone at the implant site isn’t dense or tall enough — often because the tooth has been missing for a while and the bone has naturally resorbed — a bone graft may come first, with several months of healing before the implant itself can be placed. This was the part of the timeline that surprised me most; it’s easy to assume implants are a quick fix when in reality, done right, they can be a multi-month process.
Step 3: Placing the Implant
The titanium (or zirconia) post is surgically placed into the jawbone under local anesthetic, sometimes with sedation depending on the complexity and your comfort level. This appointment itself is usually shorter than people expect — the long part of the timeline is what comes after, not the surgery itself.
Step 4: Osseointegration (The Waiting Part)
This is the biological process where the bone actually fuses to the implant post, and it’s non-negotiable — rushing this step risks implant failure. It typically takes two to six months, depending on bone quality and location. I found this the hardest part psychologically, not physically — there’s not much to feel or notice, you’re just waiting for biology to do its work.
Step 5: The Abutment and Crown
Once osseointegration is confirmed, a connector piece (the abutment) is attached to the implant post, and a custom crown is placed on top — this is the part that finally looks and functions like a normal tooth. Depending on the office, this crown may be milled same-day or made by an outside lab over one to two weeks.
Frequently Asked Questions
How long does the whole process actually take, start to finish?
For a straightforward case with no bone grafting needed, three to six months is a reasonable range. With a bone graft involved, it can stretch to nine months or longer. Ask for a personalized timeline at your consultation rather than assuming a general average applies to you.
Is the recovery painful?
Most patients describe the discomfort after implant placement as manageable with over-the-counter or prescribed pain medication, generally milder than people expect — often compared to a tooth extraction rather than something more severe. Ask your specific provider what to expect for your case.
What happens if the implant fails to integrate?
It’s uncommon but possible, more likely in smokers or people with certain health conditions like uncontrolled diabetes. If it happens, the site typically needs to heal before a second attempt, sometimes with additional grafting. It’s worth asking upfront about your personal risk factors and what the backup plan would be.